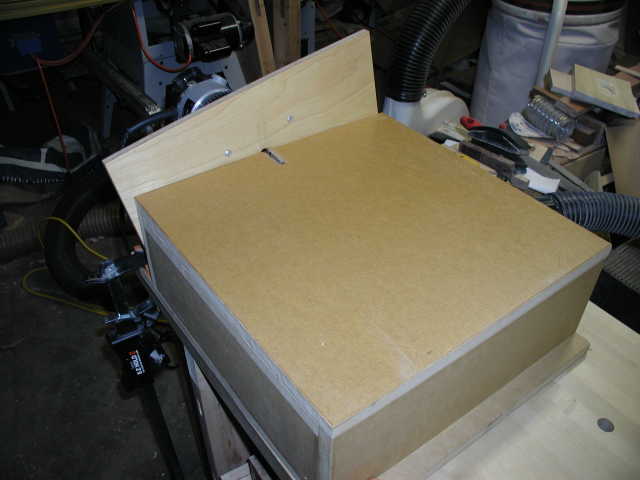
Here's an overall view of the horizontal router table. The entire thing, except for the "fence", is made of MDF, held together with biscuits. The inspiration for this came from a short article in Fine Woodworking by Ernie Conover, probably in late 2000 or early 2001.
On the far side of the fence, you can just see the router. On the right is the dust collection. It is not hooked to the big dust collector in the background, but to a shop vacuum. The stronger static draw of the vacuum is an advantage in this use.
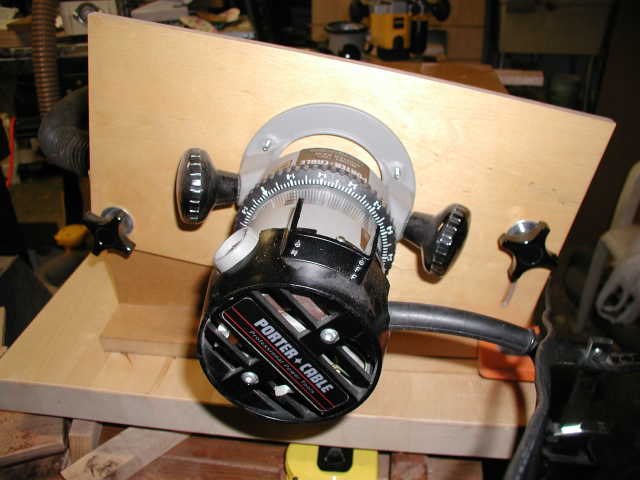
Now, the router side of the table. Good old Porter-Cable 690 is just fine in this use. The knob on the left is a fixed pivot, the one of the right is the height adjustment.
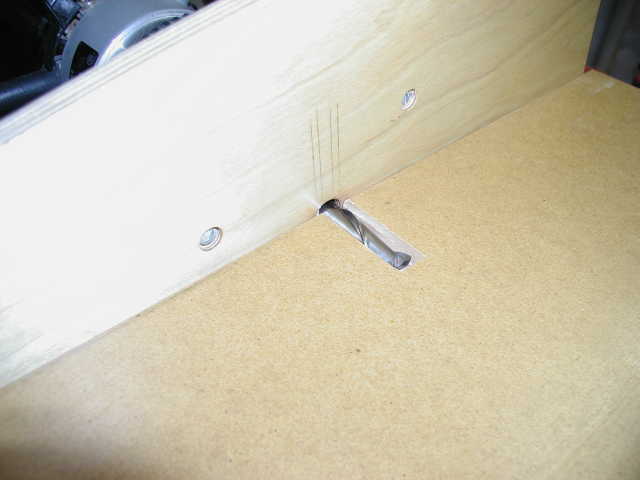
A close-up view of the cutter and fence. The two sets of lines show me the approximate start and end for the two sizes of bits I use in the table, 1/2" and 1/4". This is a 1/2" diameter, 1 1/2" cutter length, carbide upcut spiral from Whiteside. It is a very expensive bit, but works simply beautifully.
I was asked if I use a miter gauge with it. The original design by Ernie Conover had one, I think. I just use a squared push block, like this. It's easy, can't go out of alignment or fit sloppy in a slot, and if I need a bigger one I just grab a bigger piece of scrap plywood and square it up.
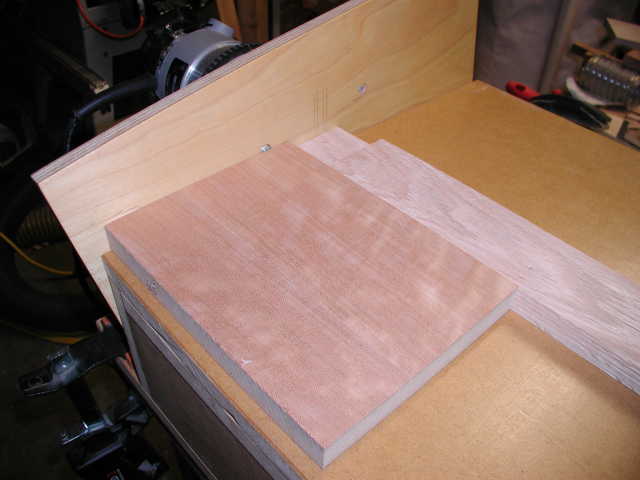
I first make a light cut all the way around the tenon piece, to establish a clean shoulder. You can see here how clean the tenon and shoulder is cut.
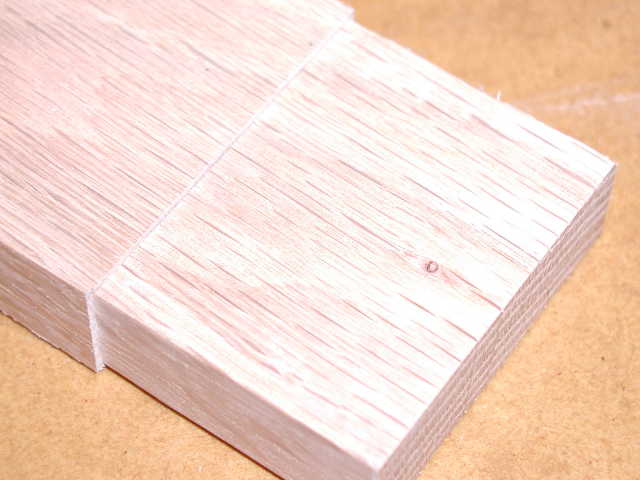
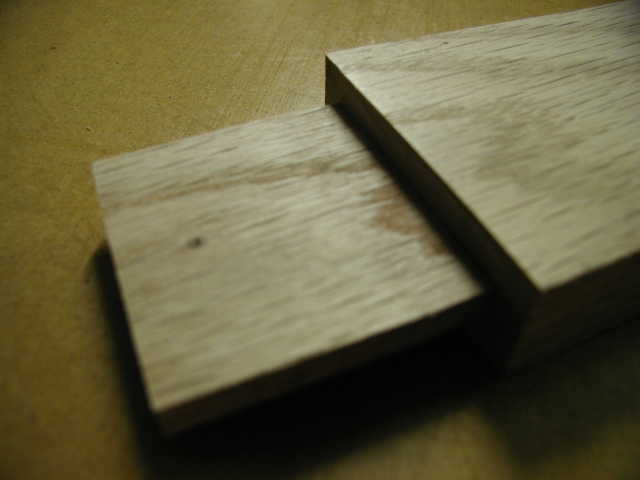
Then I adjust the height of the cutter and make the depth cut. I make test cuts for this, since I need to sneak up on the exact size of the mortise. It is absolutely necessary to use pieces of the exact same width and thickness for your test cuts, since the piece is indexed from all four sides as you cut it. Unfortunately, this picture doesn't come out too well, but I think it is clear enough to show an extremely smooth tenon that will glue up perfectly.
Thanks for viewing. I always welcome questions.
Dave Arbuckle
davearbuckle@hotmail.com


